Adding and Editing Vendors
Print
Modified on: Wed, 2 Aug, 2023 at 3:00 PM
This is a step-by-step guide on adding vendors to your account and editing their details. You can also watch BACON's video tutorial on this topic here: https://app.clickbacon.com/tutorials?tour=vendor-video
To add and edit vendors, look at the upper right corner of the screen on click your account profile. Vendors are managed in "Settings".
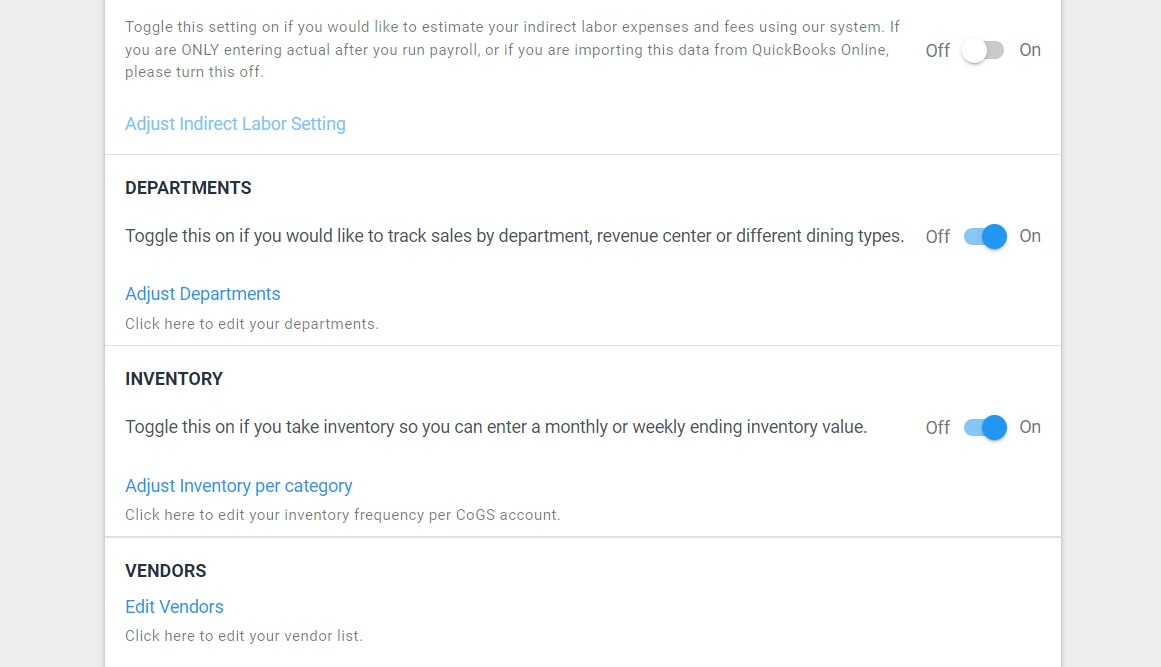
On the Settings page, click "Edit Vendors" as seen in the screenshot below.
On the Vendors page, you will see a list of all your current vendors. To add new vendors, click the button (see below).
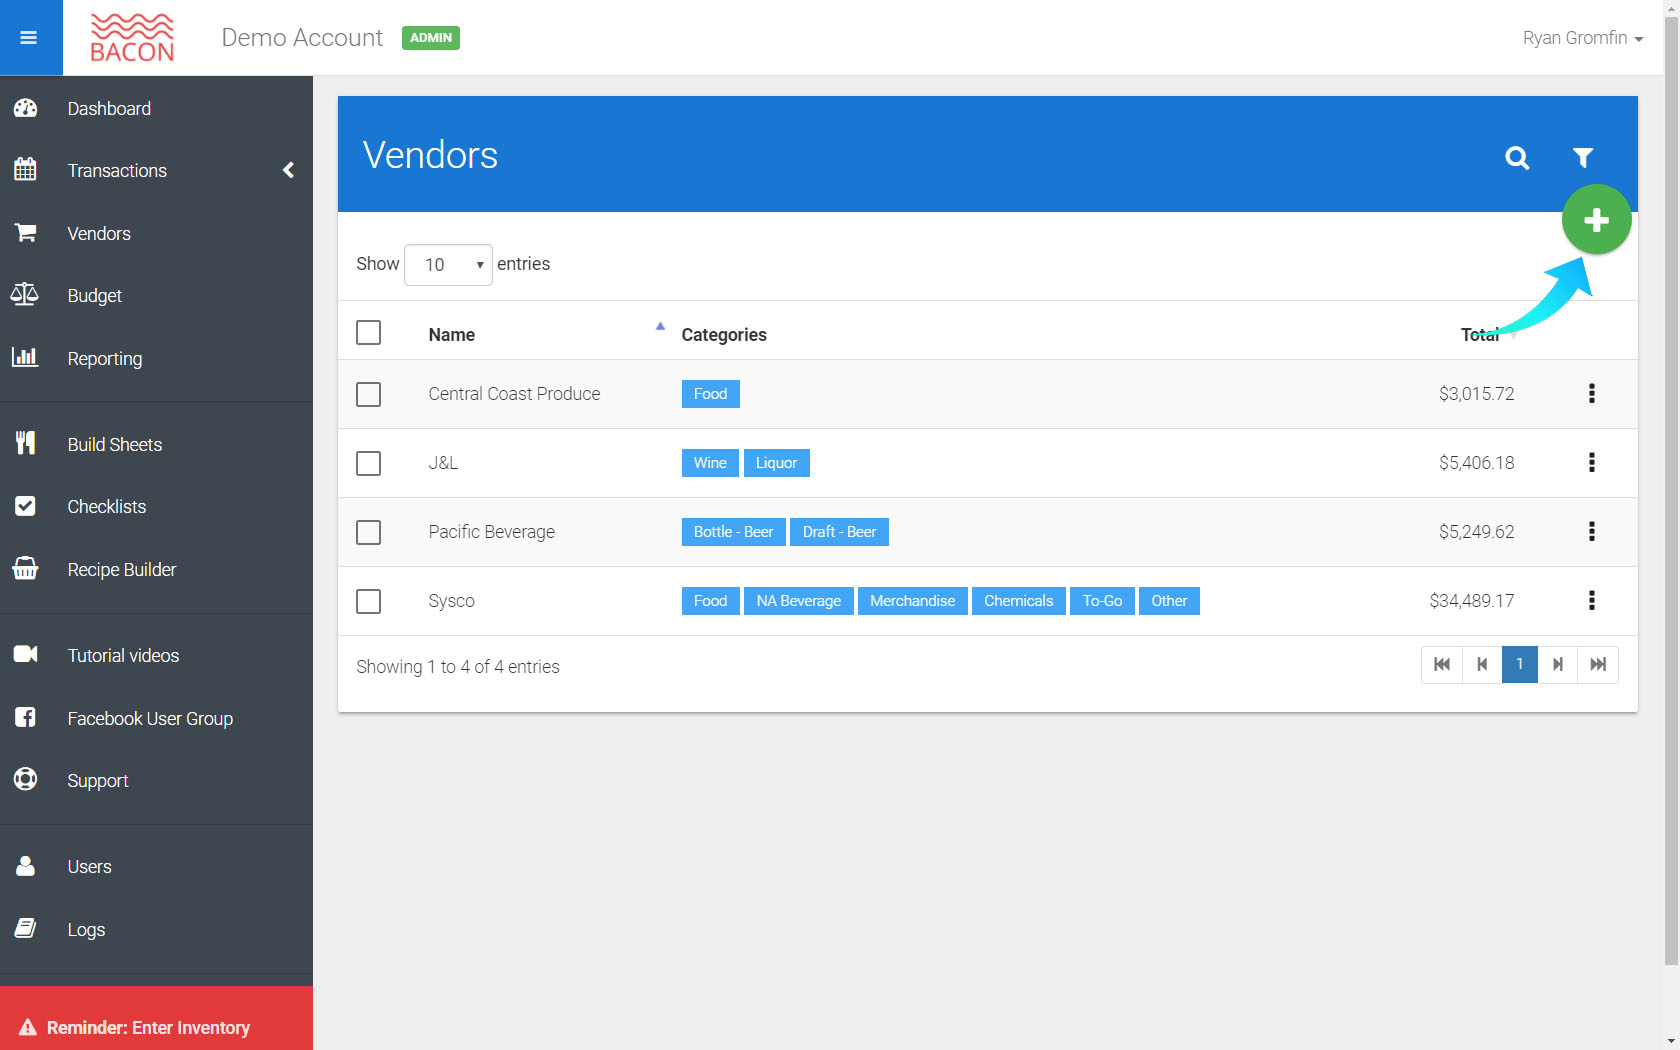
On this page, you will enter the new vendor's name and select whether it's a vendor for a Cost of Goods Sold or Direct Operating Expense. Once the option is checked, you will select what type/category of CoGS or DOE the vendor is.

For the “Categories” entry, click on the box and you will be presented with a list of categories. Select the category you wish to add to the vendor. (TIP: If you type in only the first few letters of the category, the list will be filtered and only categories with those letters will be shown.)
You can also select multiple categories as you see fit. They can be removed by clicking the “x” button beside the category (see Liquor example below).
Once you’re done, click “Save” to add your vendor.

You can also edit or delete existing vendors by clicking on the Options button. It has the three vertical black dots on the Vendors list. Choosing delete will remove that vendor from the list and choosing edit will redirect you to the “Edit Vendor” page that enables you to edit the name and categories of the existing vendor, similar to creating a new one (refer to steps 3-6).
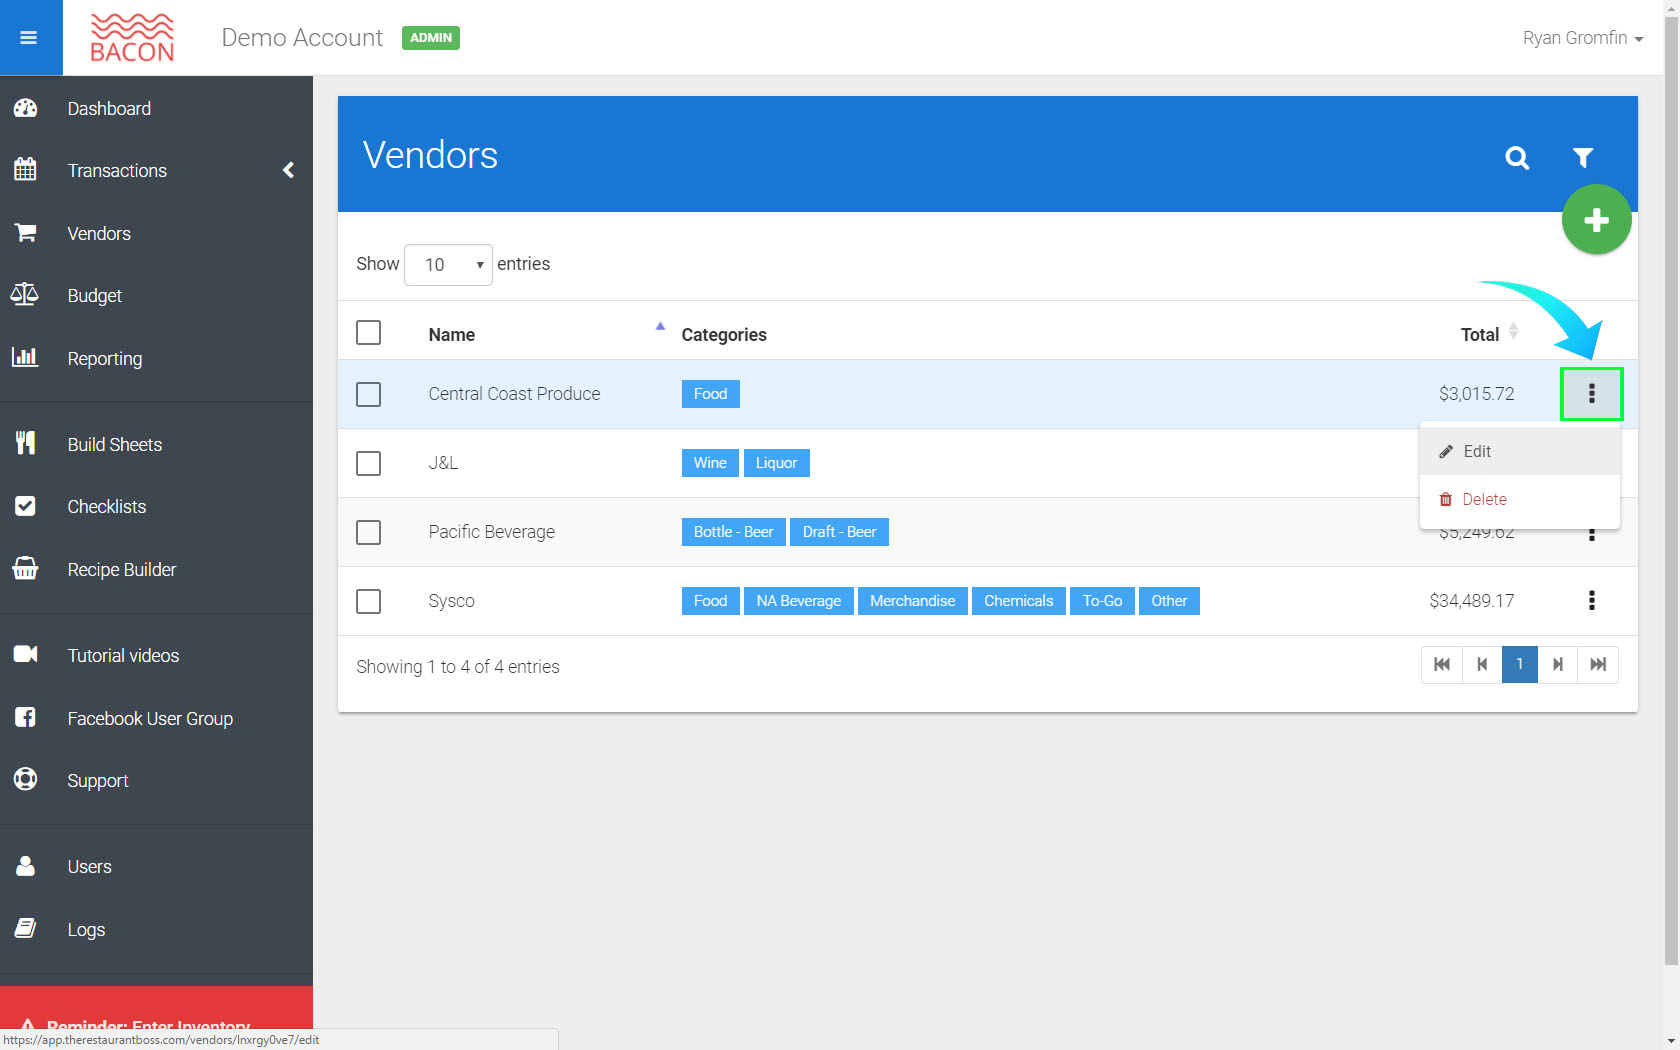
You can also use the “Search” button to look for a specific vendor if the list becomes large. Click on the small magnifying glass button on the top right of the Vendors page.
A box will appear where you can type in the name of the vendor or part of its name to search for it. Once entered, only that specific vendor will be shown.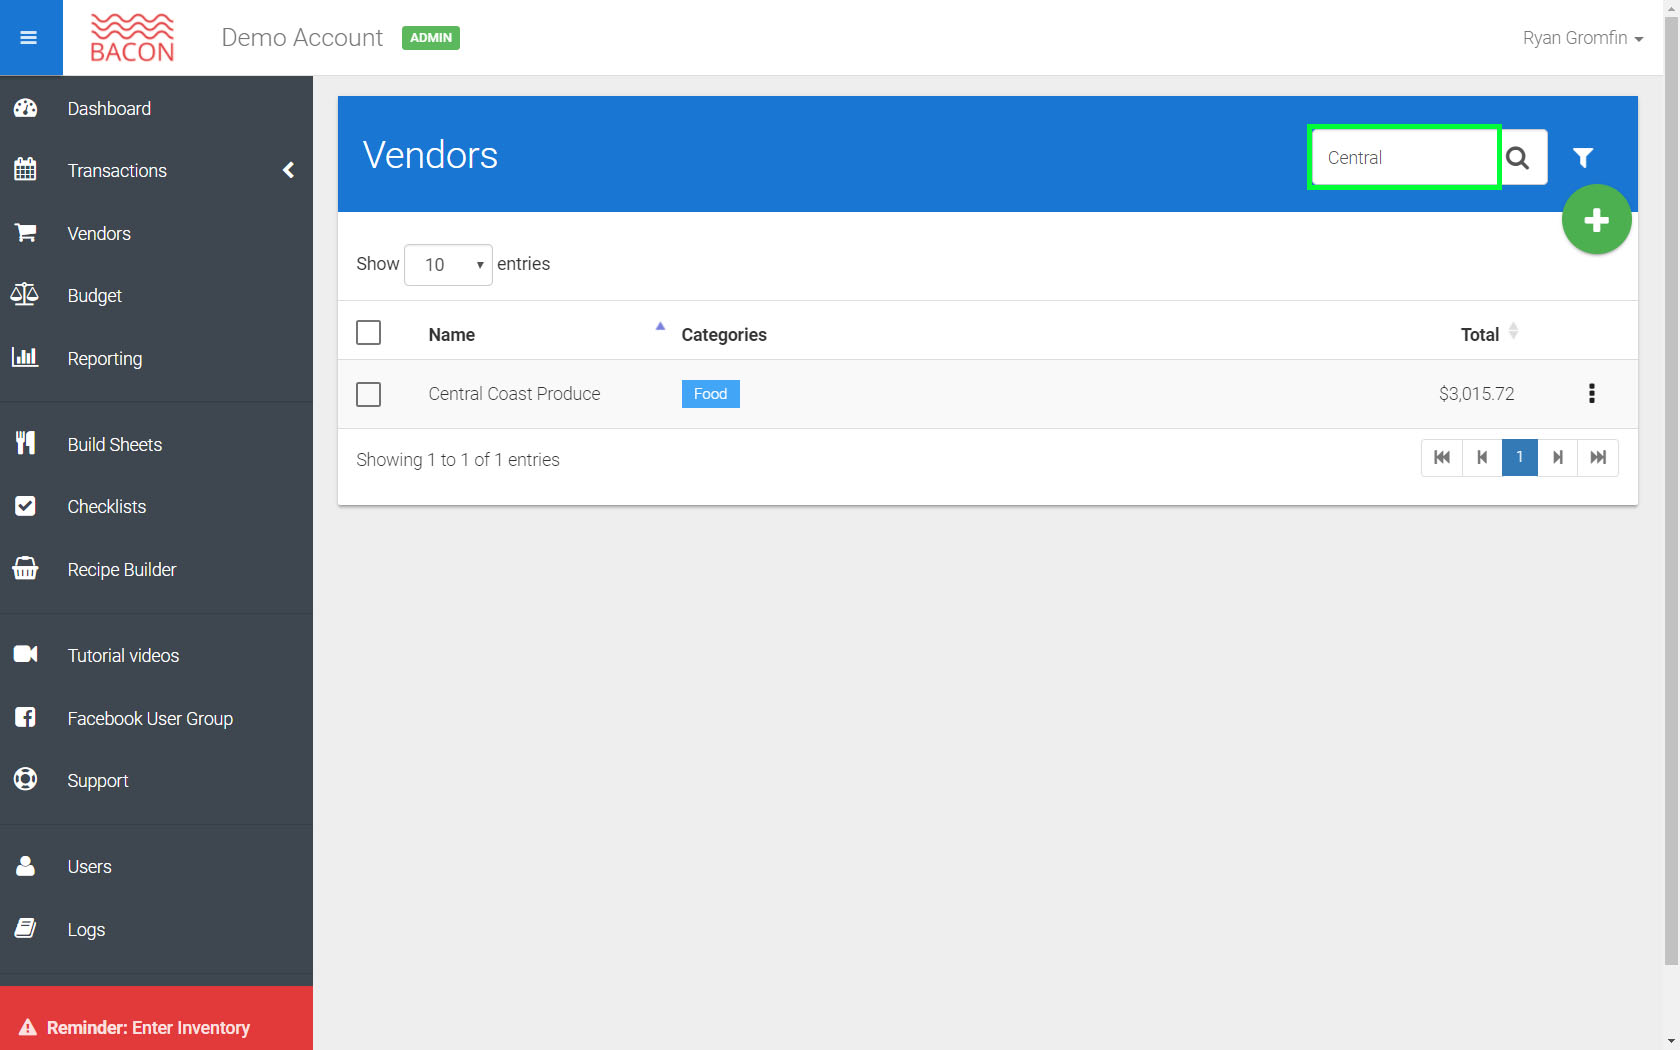
Lastly, the “Filter” option (right next to the “Search” button. ), is another way to search for vendors by only displaying vendors that meet specific categories or name. Click “Search” once done. (NOTE: You must type in the full name of the vendor when using “Filter”.)
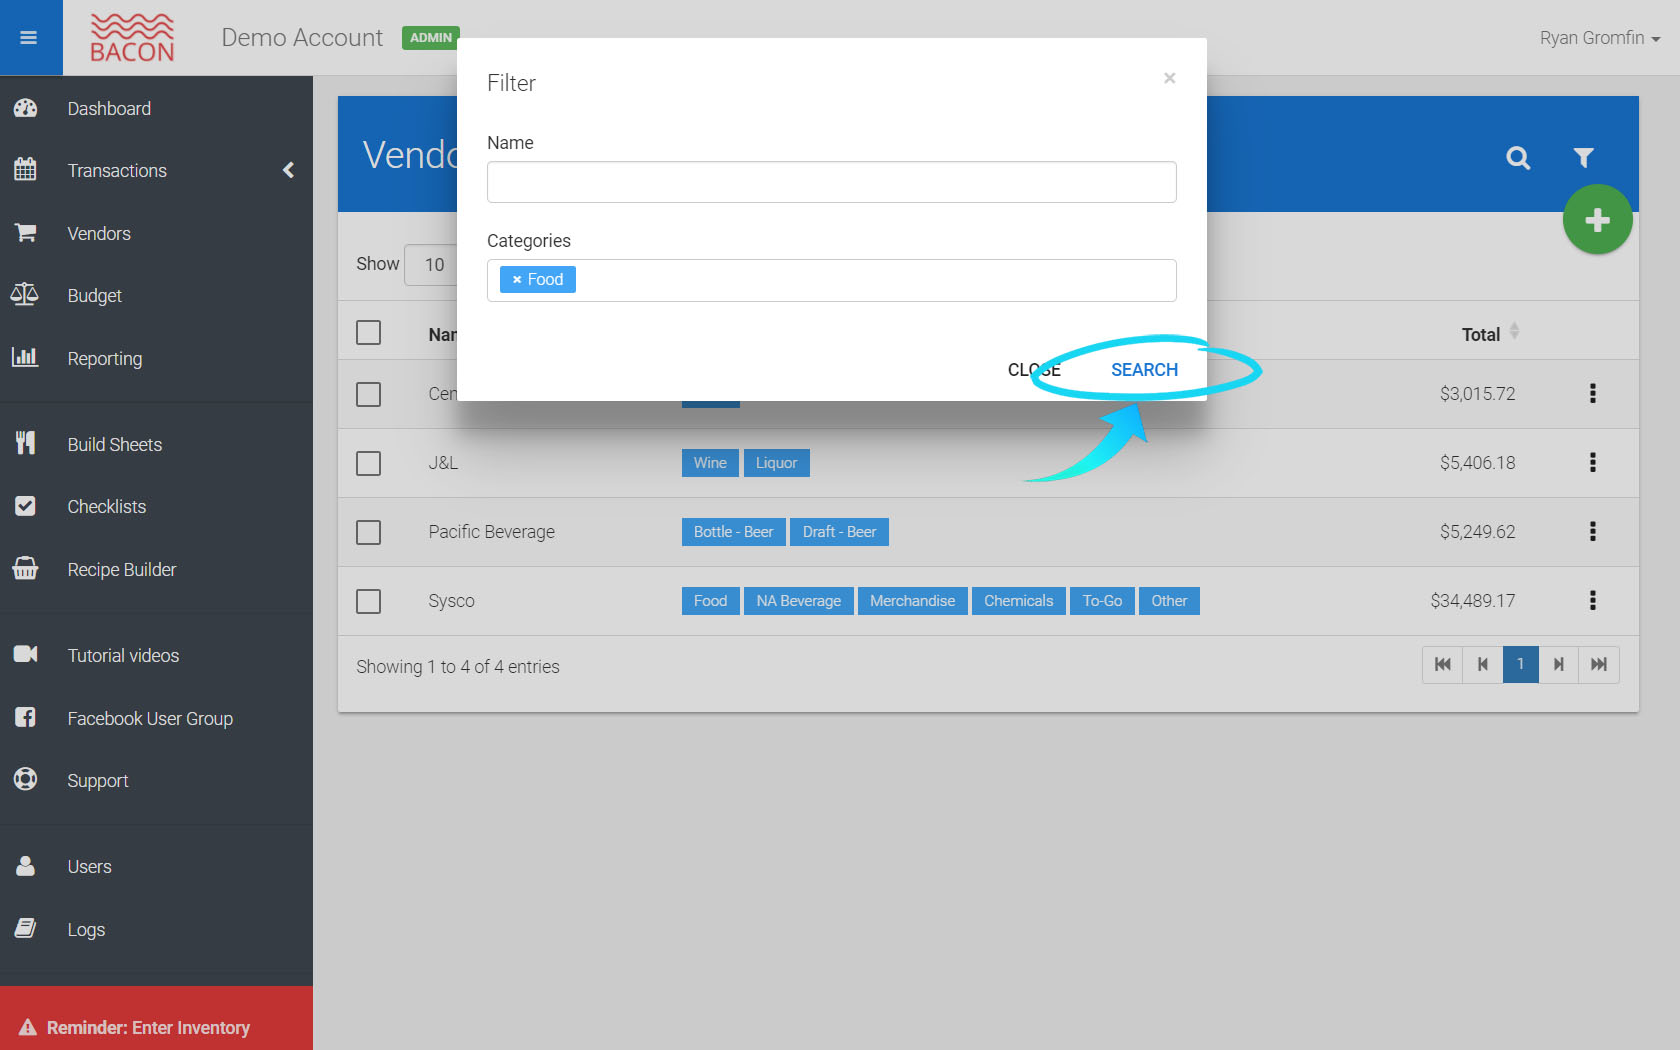
Did you find it helpful?
Yes
No
Send feedback Sorry we couldn't be helpful. Help us improve this article with your feedback.